

|
本帖含有隐藏内容,请您 回复 后查看 )进入官网主题页面 然后选择自己喜欢的一个 我这里选择的是[Butterfly](本帖含有隐藏内容,请您 回复 后查看 )主题,也是我目前仍在使用的 ## 安装 目前有三种安装方式***Gitee、GitHub、npm*** Gitee安装 `git clone -b master 本帖含有隐藏内容,请您 回复 后查看 themes/butterfly` Github安装 `git clone -b master 本帖含有隐藏内容,请您 回复 后查看 themes/butterfly` NPM安装 `npm i hexo-theme-butterfly` 我个人建议Gitee安装 速度较快 ***划重点 划重点 划重点*** 在根目录下clone 在根目录下clone 在根目录下clone 重要的事情说三遍 在这里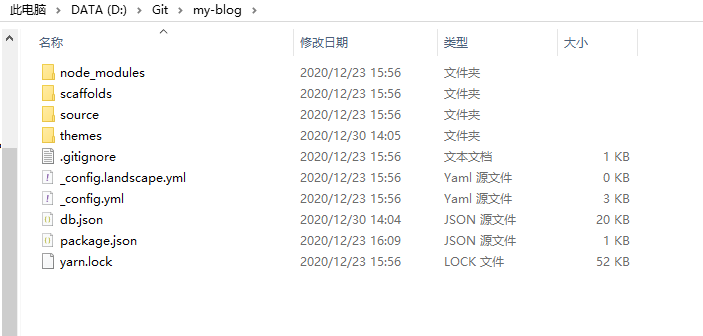 右键点击 Git bash, 运行git工具 自己从gitee或github安装方式中选择一个 我用的是gitee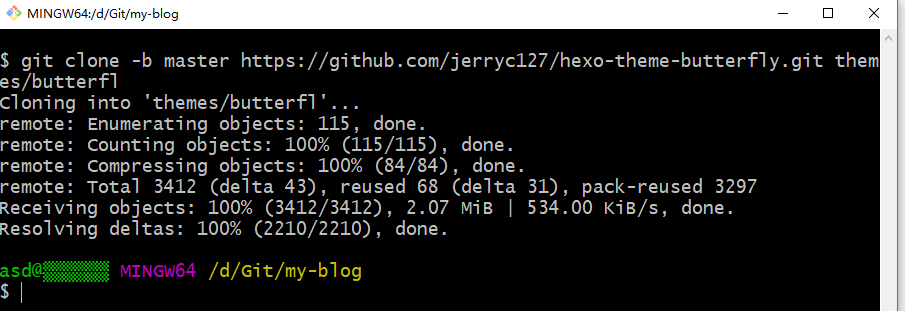 ## 应用主题 在根目录下`_config.yml`文件中将theme属性的值替换为 ***butterfly*** 安装插件 如果你沒有 pug 以及 stylus 的渲染器,請下載安裝: `npm install hexo-renderer-pug hexo-renderer-stylus --save` 把主题文件夹中的` _config.yml` 复製到 Hexo 根目录里,同时重新命名为` _config.butterfly.yml`。 以后只需要在` _config.butterfly.yml`进行配置就行。 Hexo会自动合併主题中的`_config.yml`和 `_config.butterfhttps://pic.rmb.bdstatic.com/bjh/e9cacddaab0a63026e7c73ea9957c39c.jpg ``` [图片] 4. 开启背景动态 ```yaml # canvas_ribbon (靜止彩帶背景) # See: 本帖含有隐藏内容,请您 回复 后查看 canvas_ribbon: enable: true size: 150 alpha: 0.6 zIndex: -1 click_to_change: false mobile: true # Fluttering Ribbon (動態彩帶) canvas_fluttering_ribbon: enable: true mobile: true # canvas_nest # 本帖含有隐藏内容,请您 回复 后查看 canvas_nest: enable: true color: '0,255,0' #color of lines, default: '0,0,0'; RGB values: (R,G,B).(note: use ',' to separate.) opacity: 1 # the opacity of line (0~1), default: 0.5. zIndex: -1 # z-index property of the background, default: -1. count: 99 # the number of lines, default: 99. mobile: false ``` 效果: [图片] 5. 更多配置 配置大部分都很简单, 建议大家参考一下
|
|
|
成为第一个回答人